PAVER INSTALLATION
Finished Paver Projects
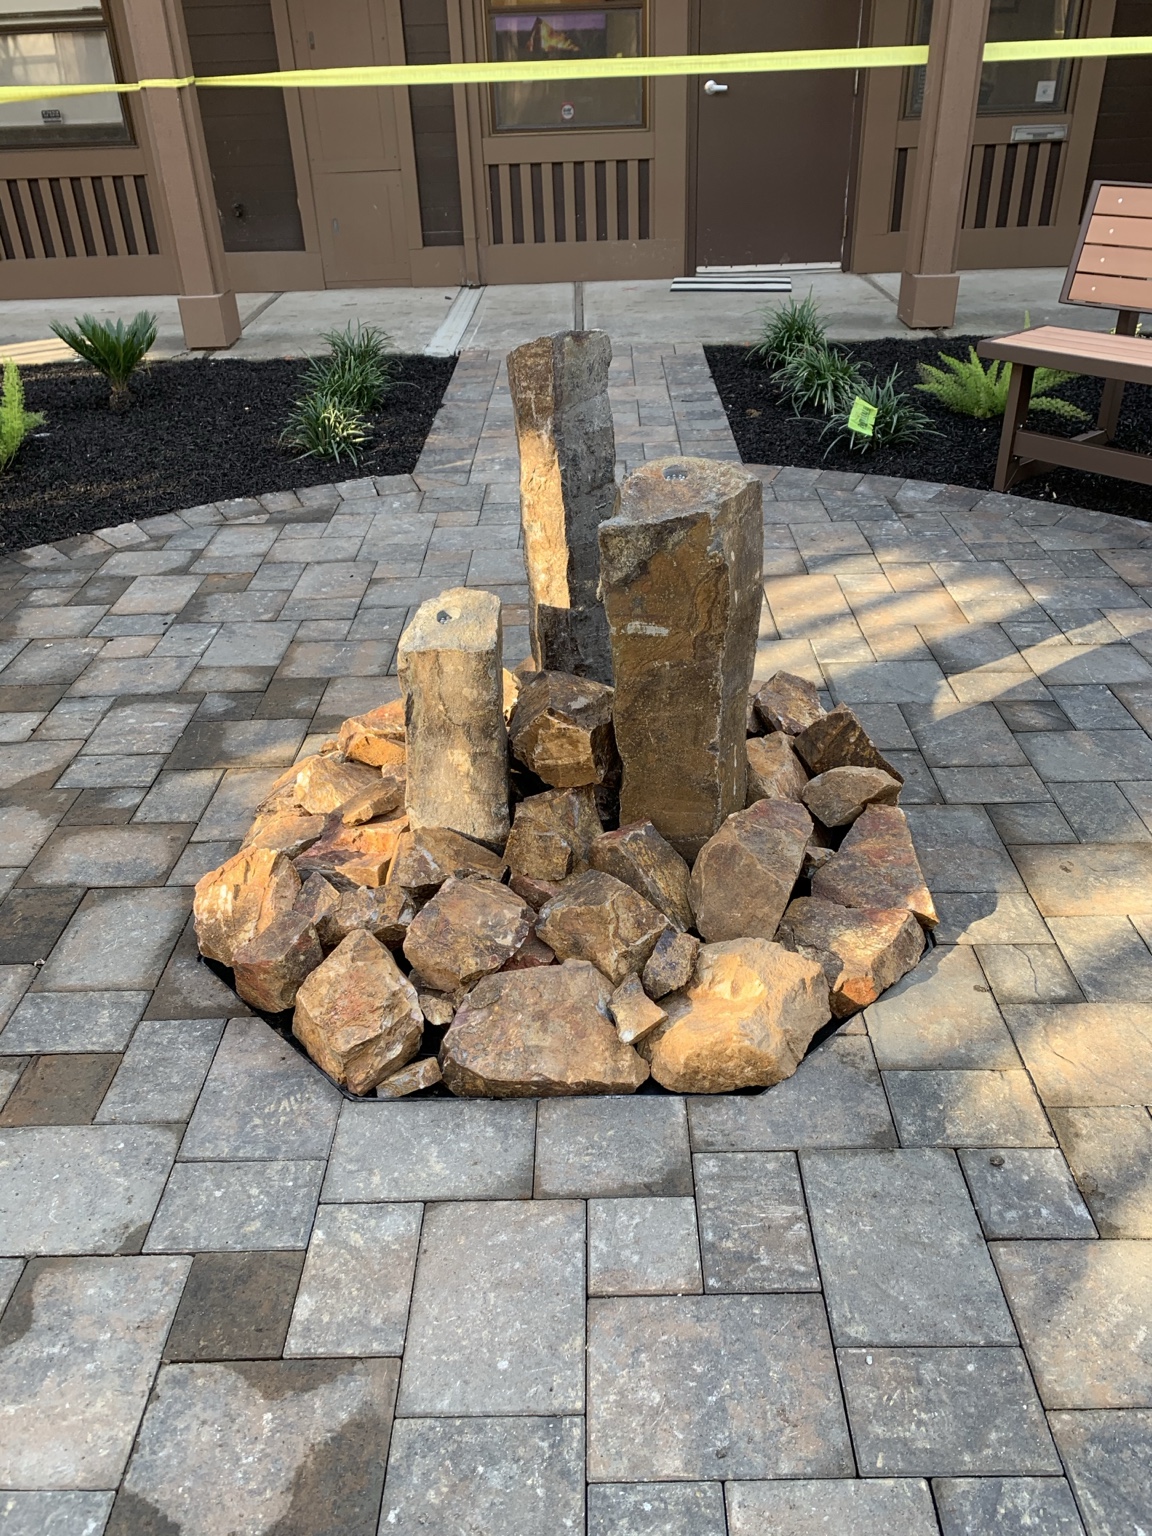
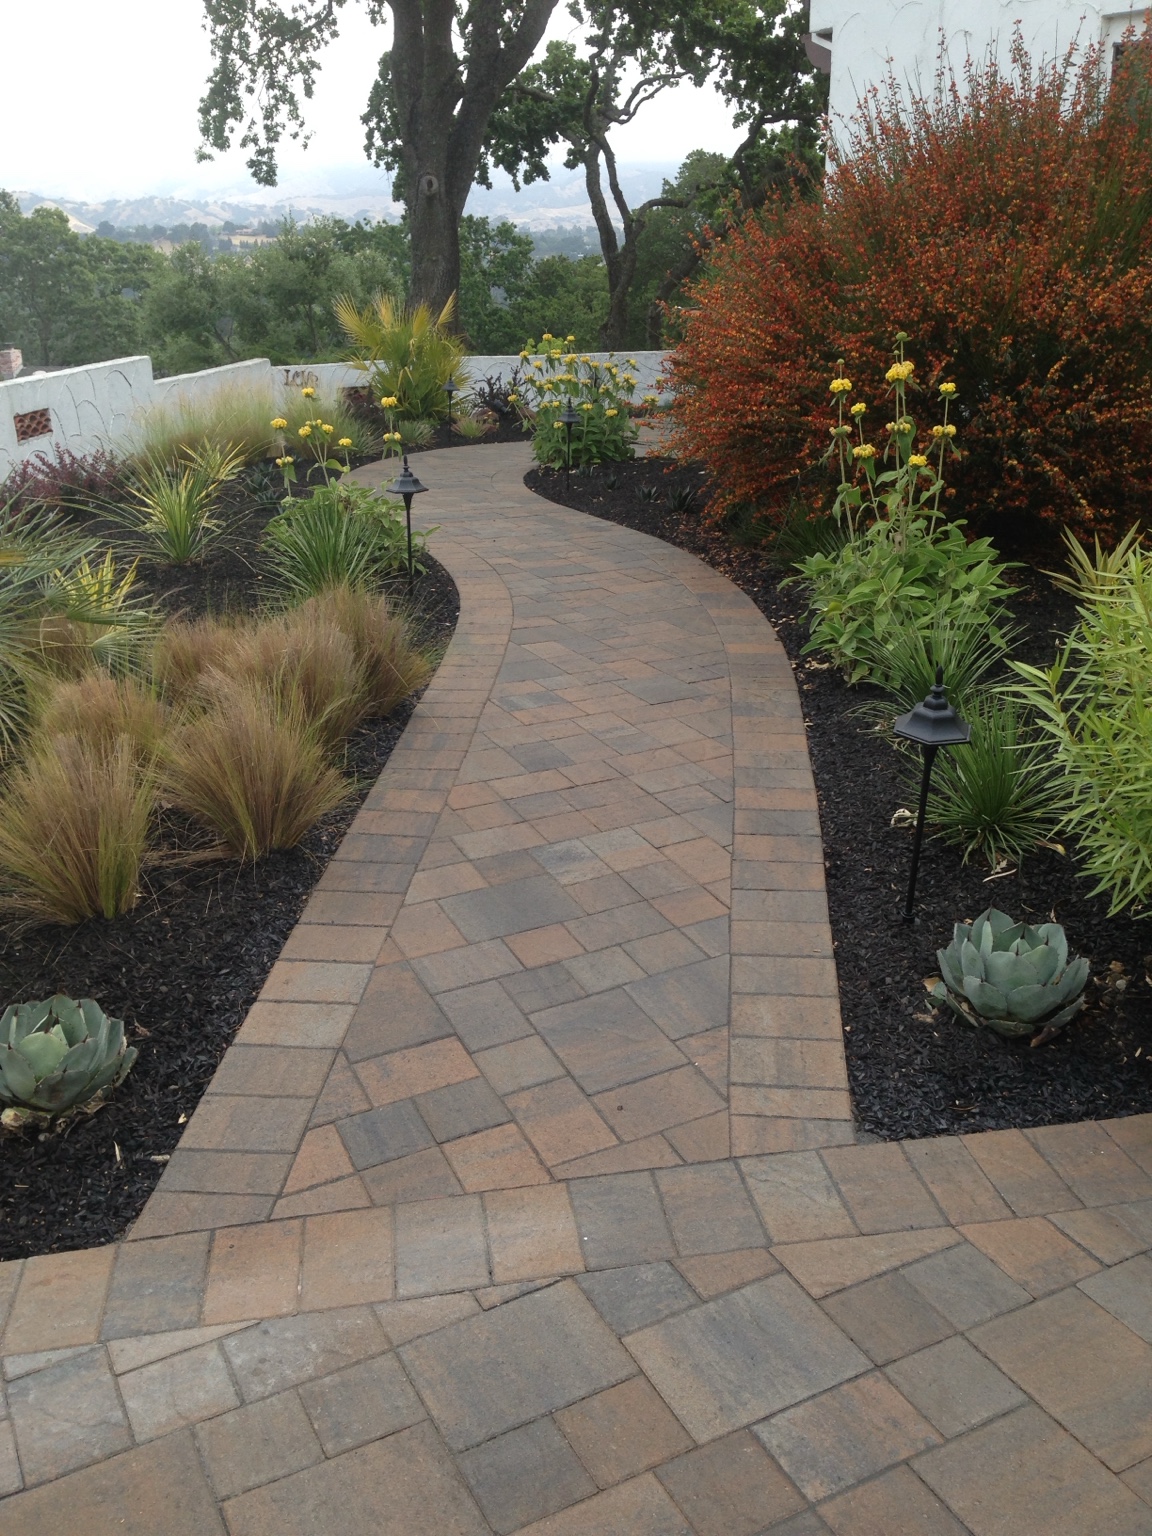
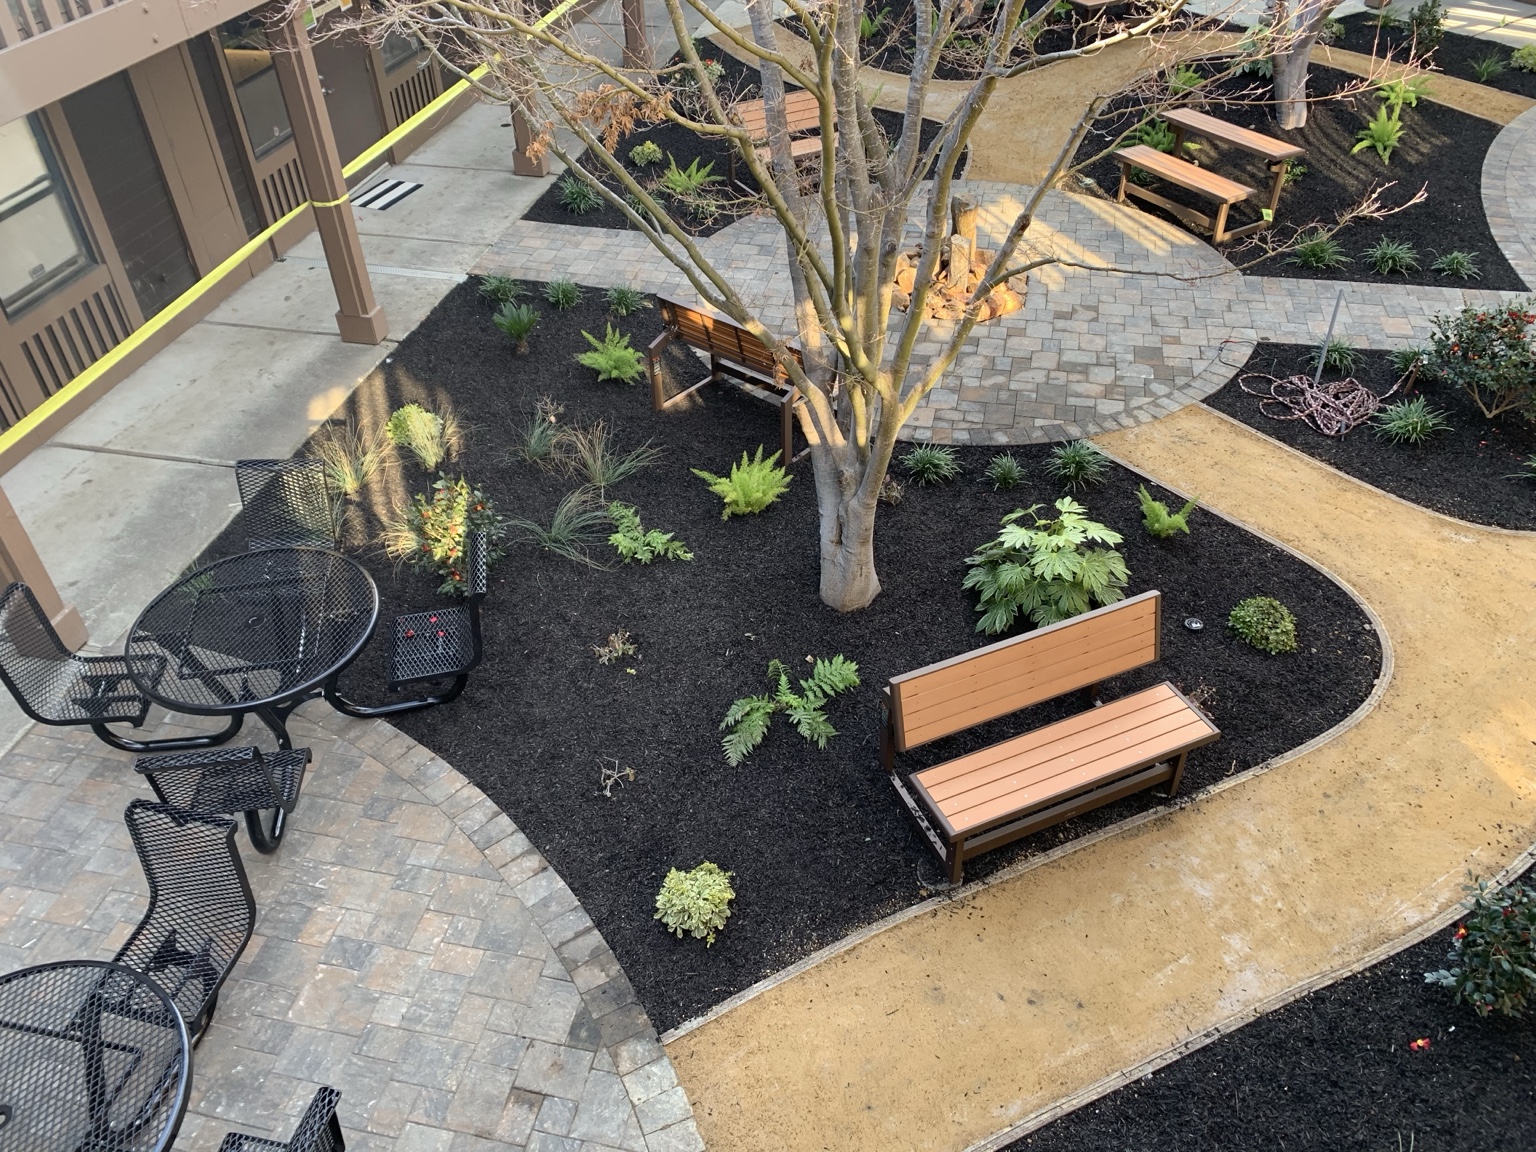
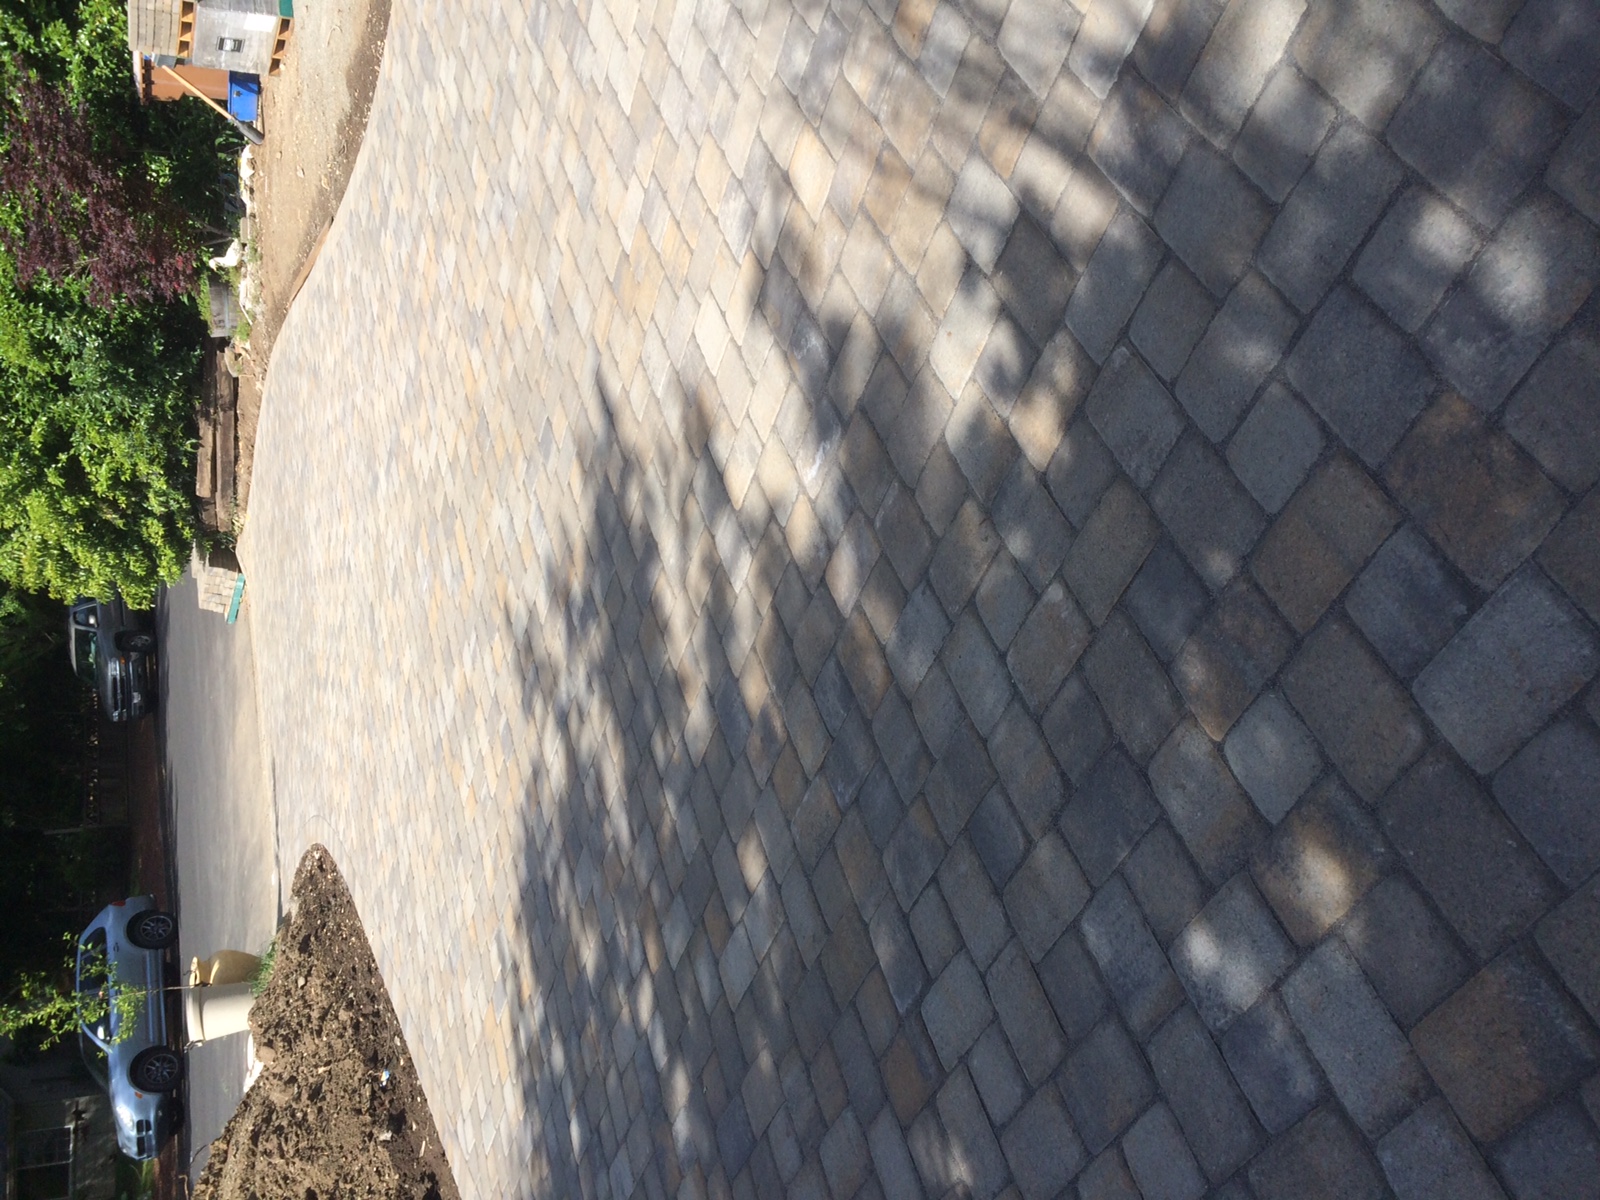
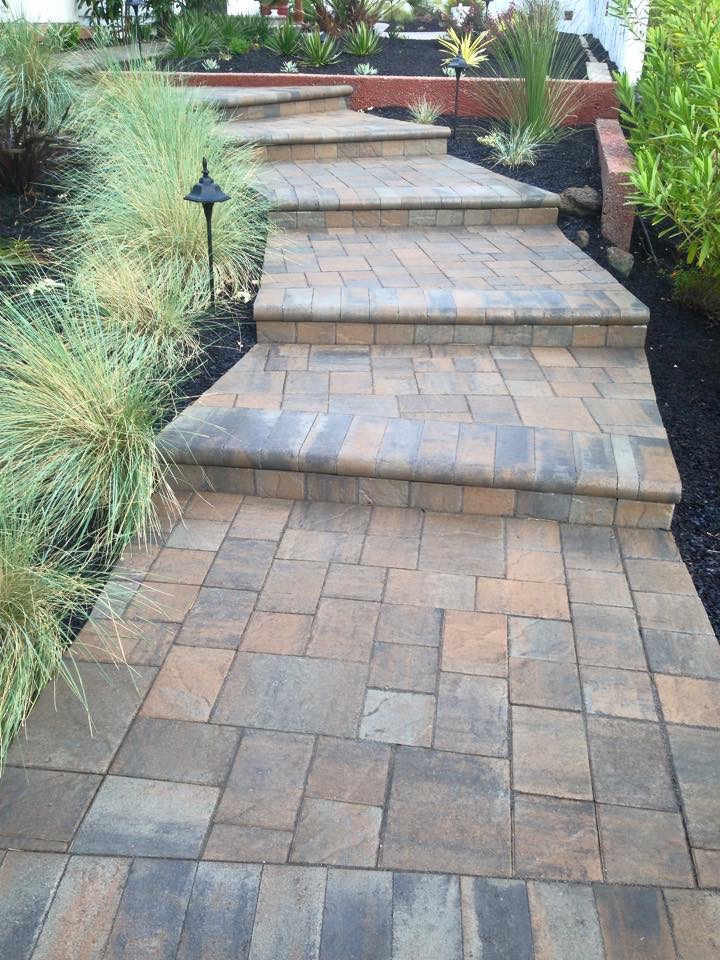
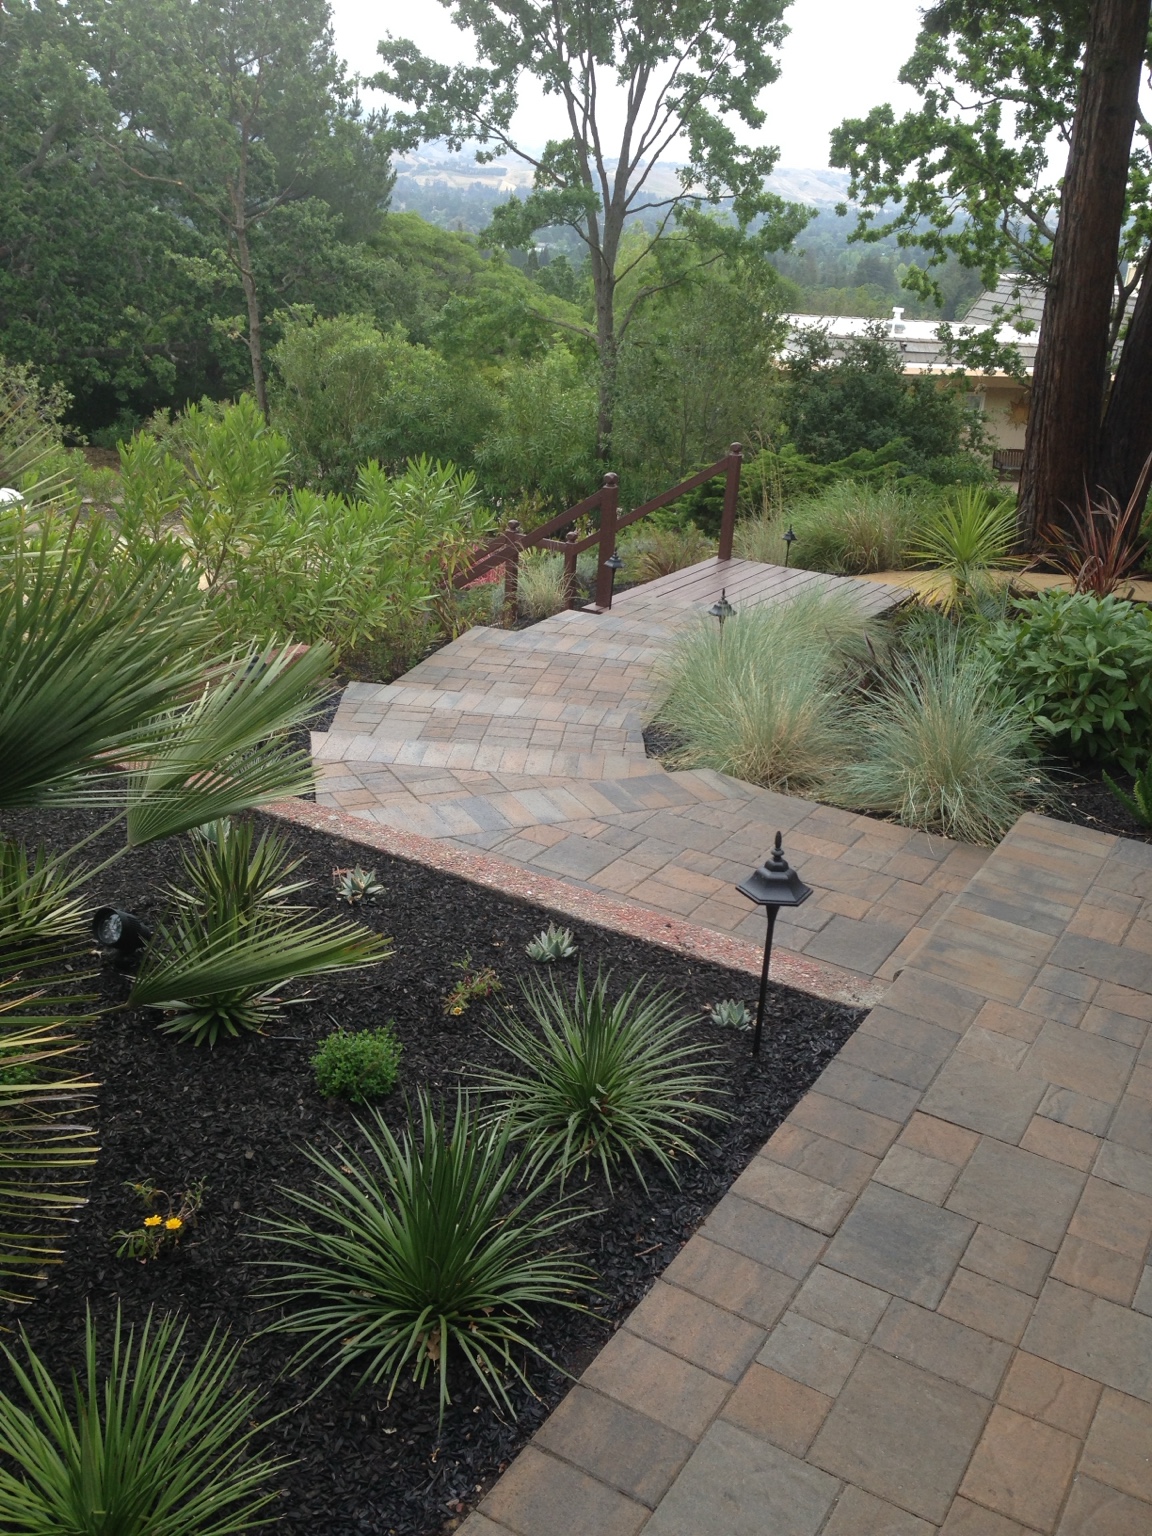
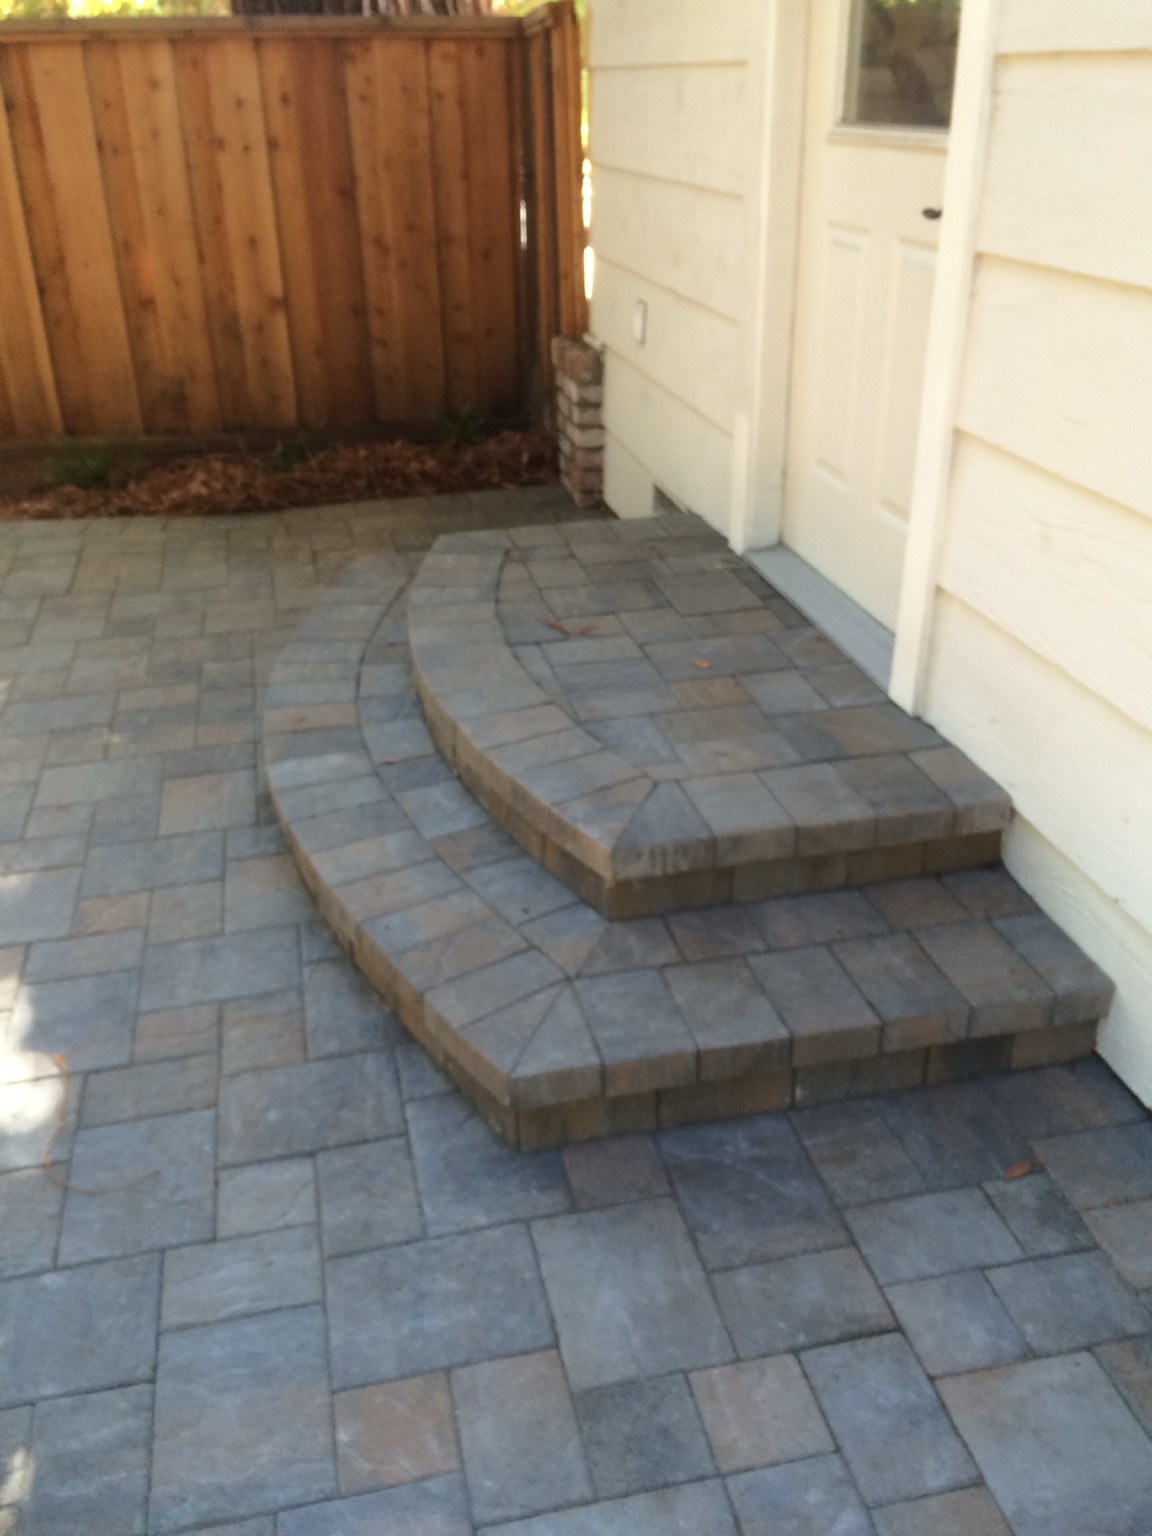
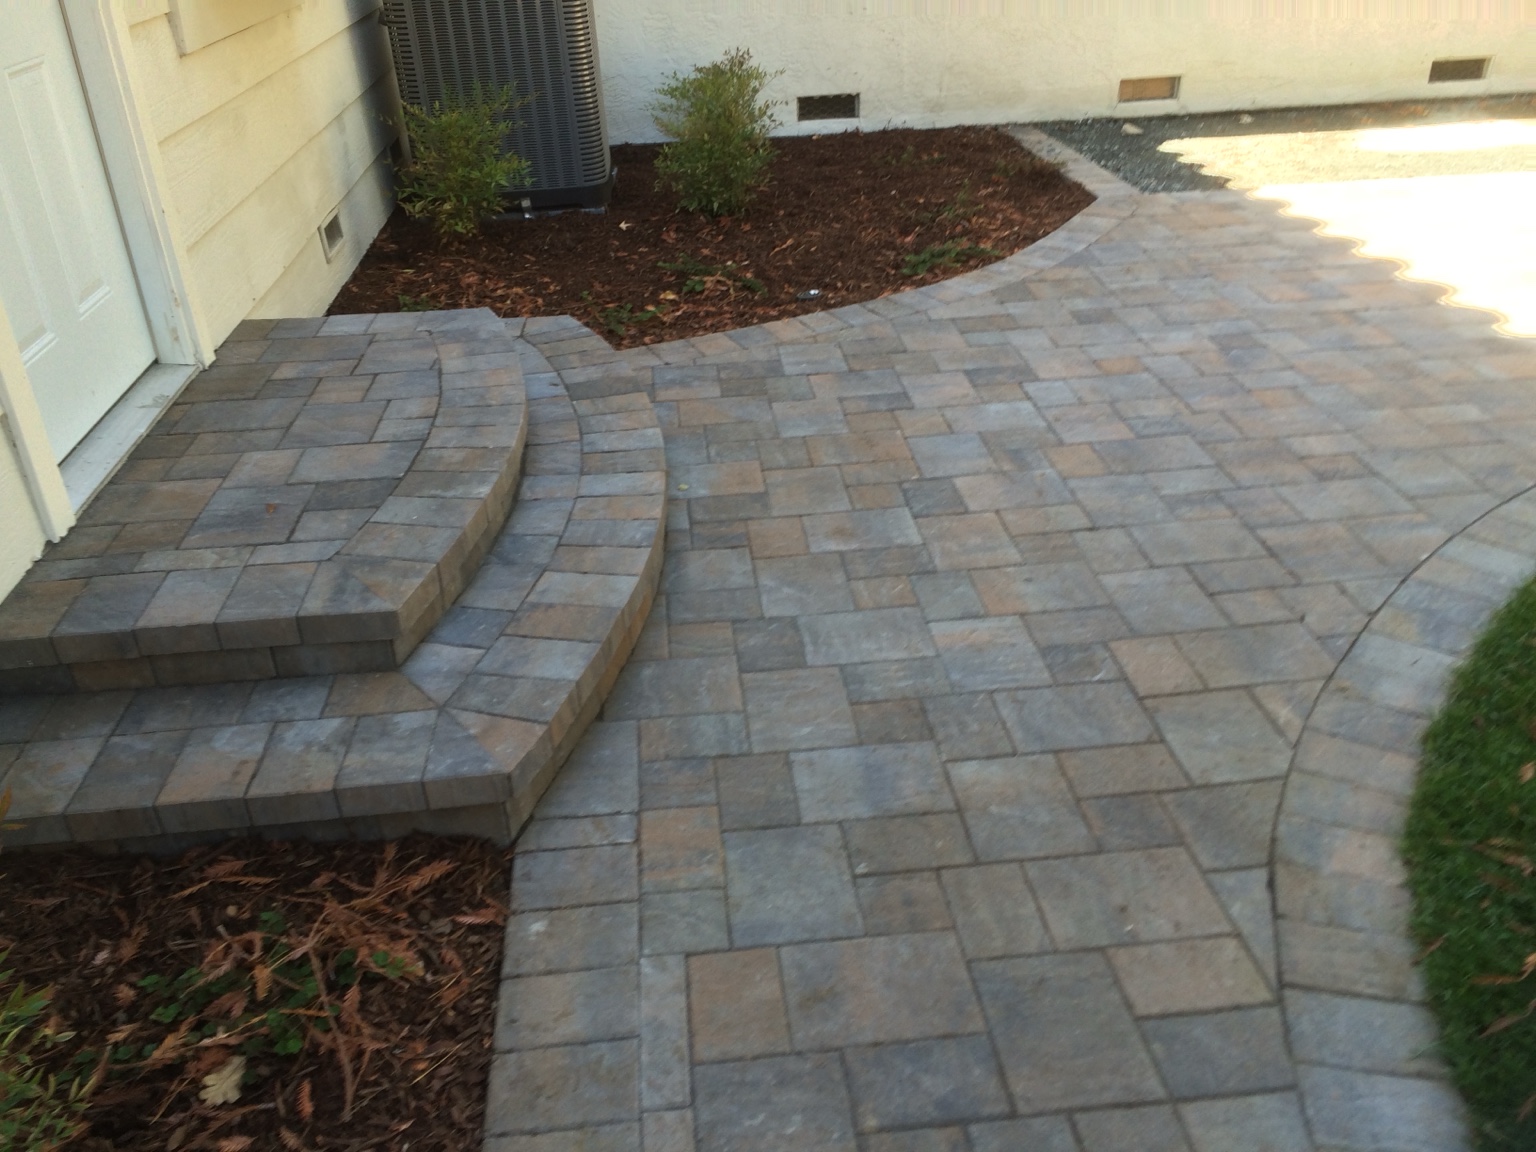
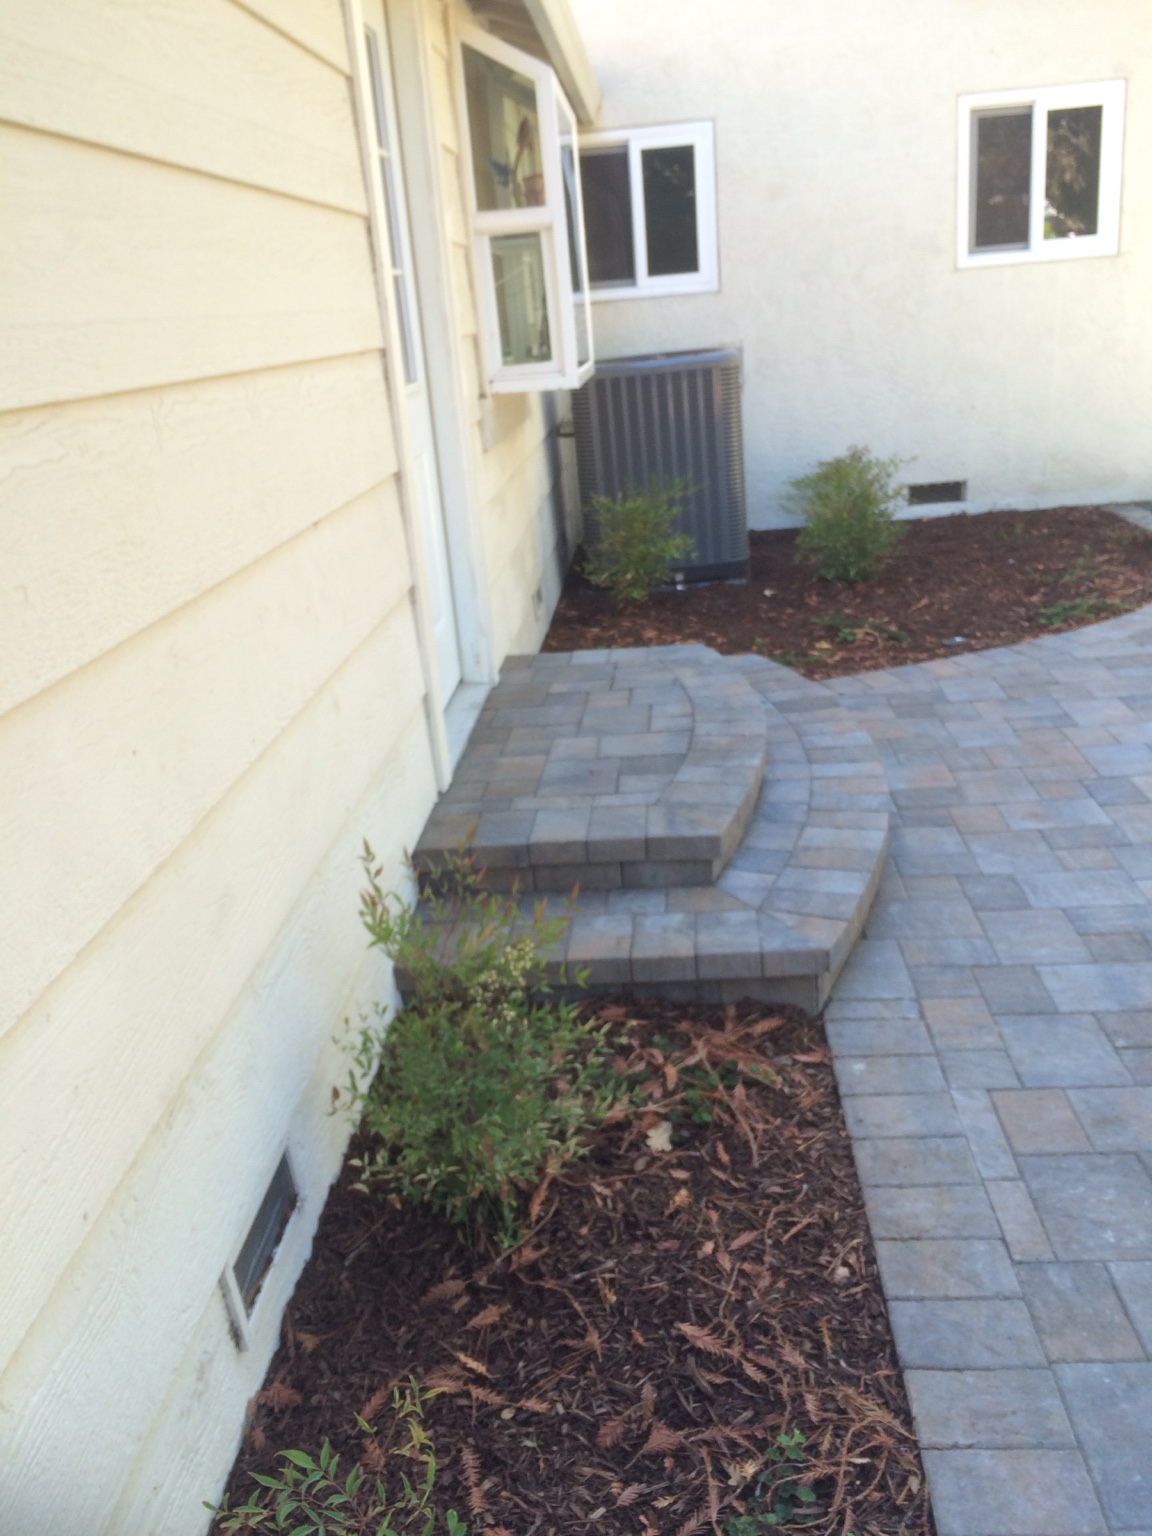
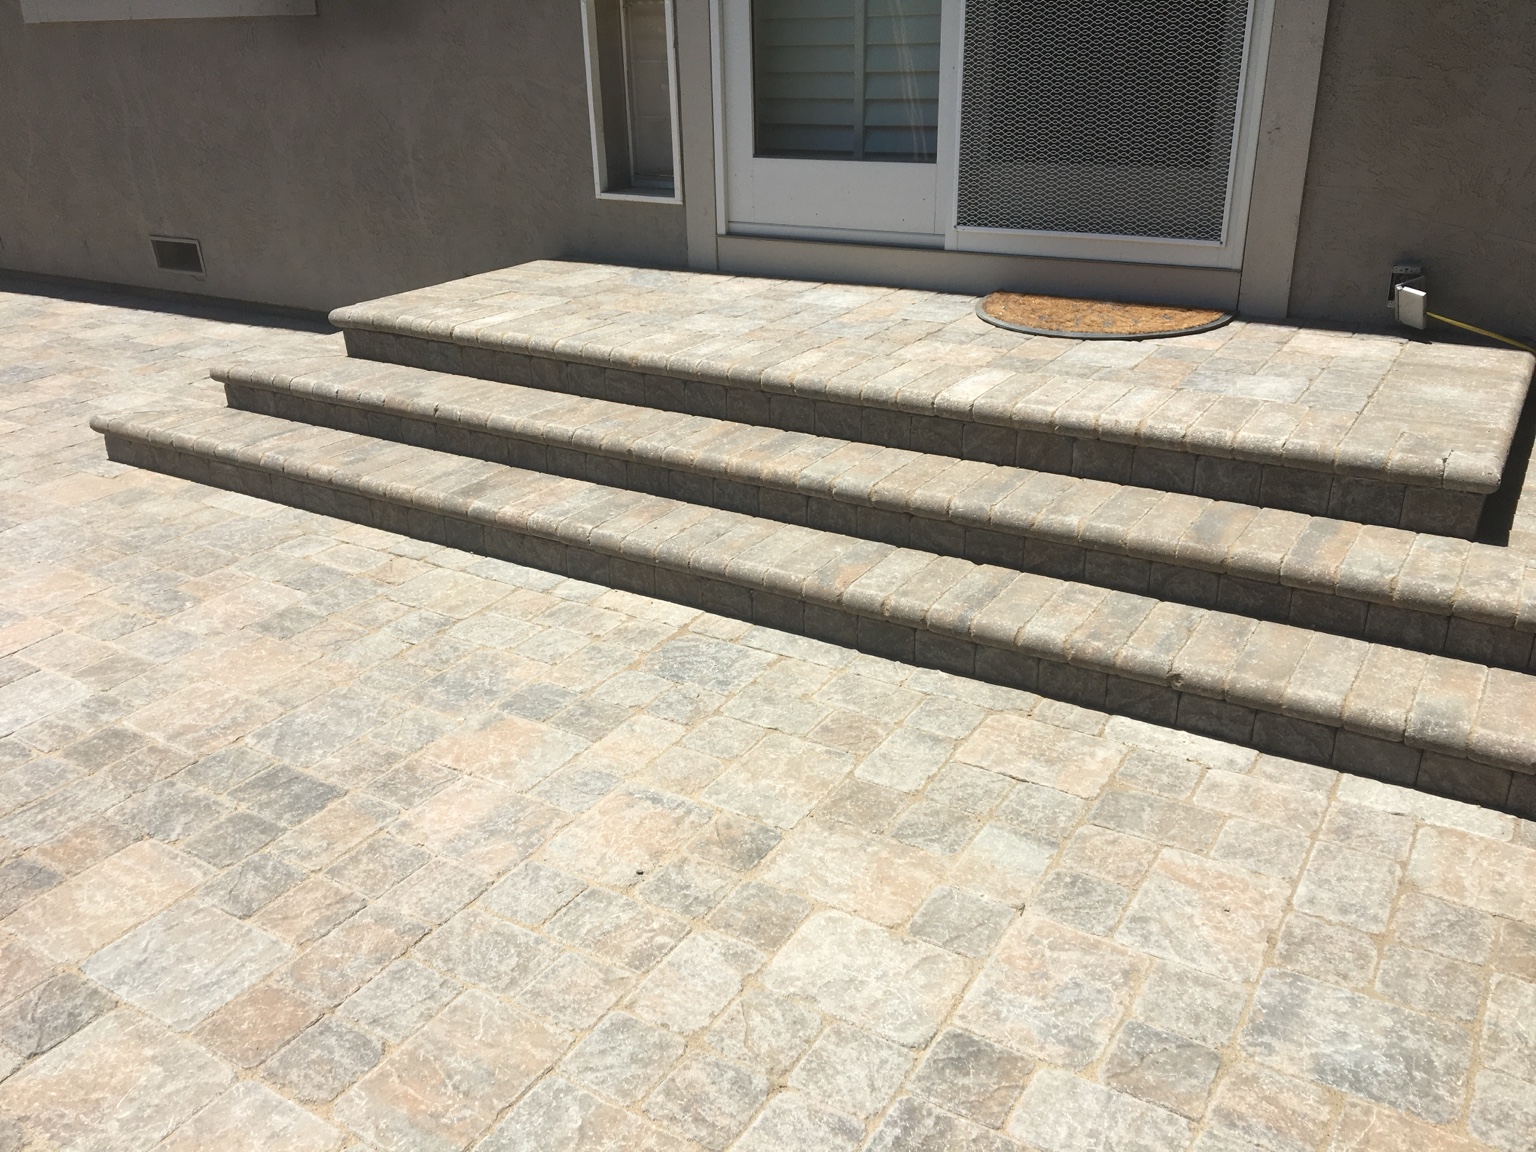
Examples of completed DCS paver installations for driveways, patios and walkways.
A durable paver surface begins below the finished pavers. Our process emphasizes layout, base preparation, installation and finishing.
Every project is different, but these are the key stages we follow to build a durable, professional paver installation.
We evaluate the project area, measurements, access, drainage needs and desired layout, then discuss paver style and project scope.
Existing surface material is removed as required and the project area is excavated to the depth needed for the installation system.
The subgrade is shaped and compacted. Aggregate base is installed and compacted in layers to create a stable foundation.
A controlled bedding layer is prepared to receive the pavers and maintain consistent elevation.
Pavers are placed in the selected pattern with careful alignment, consistent spacing and attention to the overall design.
Pavers are carefully cut around curves, borders and fixed features, and edge restraints are installed where required.
Joint material is worked into the paver joints and the surface is compacted as appropriate for the paver system.
The work area is cleaned, final details are checked, and the completed installation is reviewed with the customer.
Examples of completed DCS paver installations for driveways, patios and walkways.
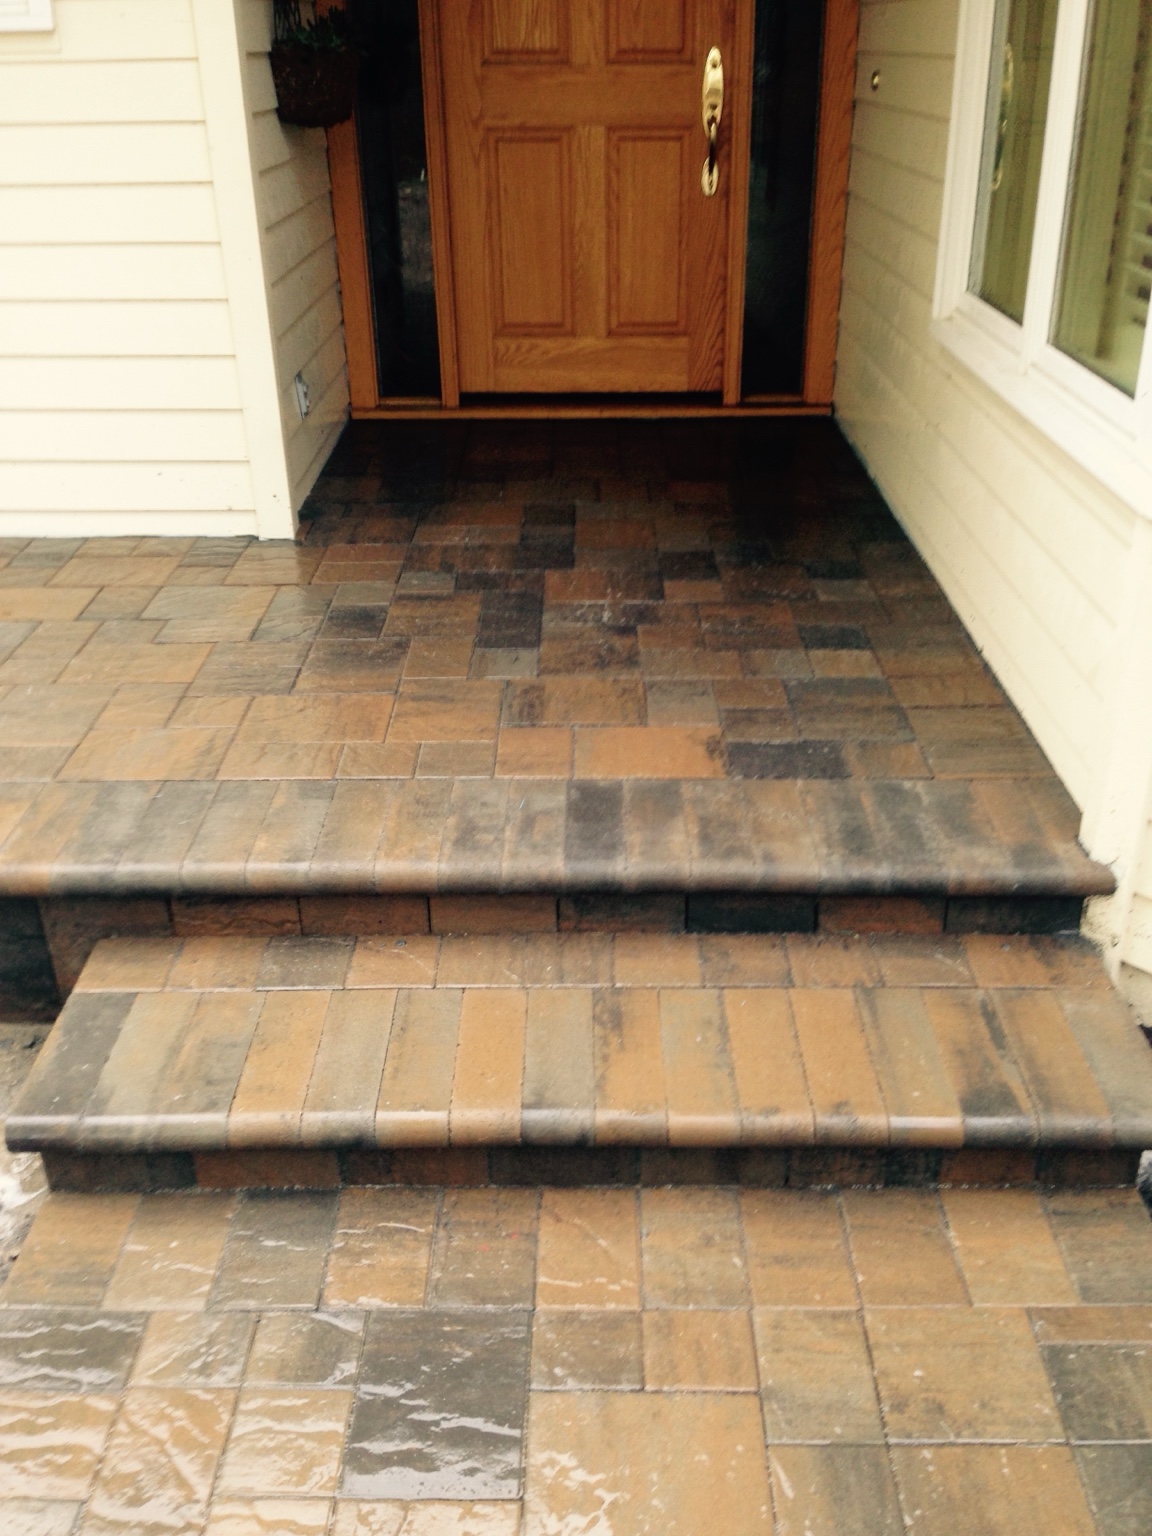
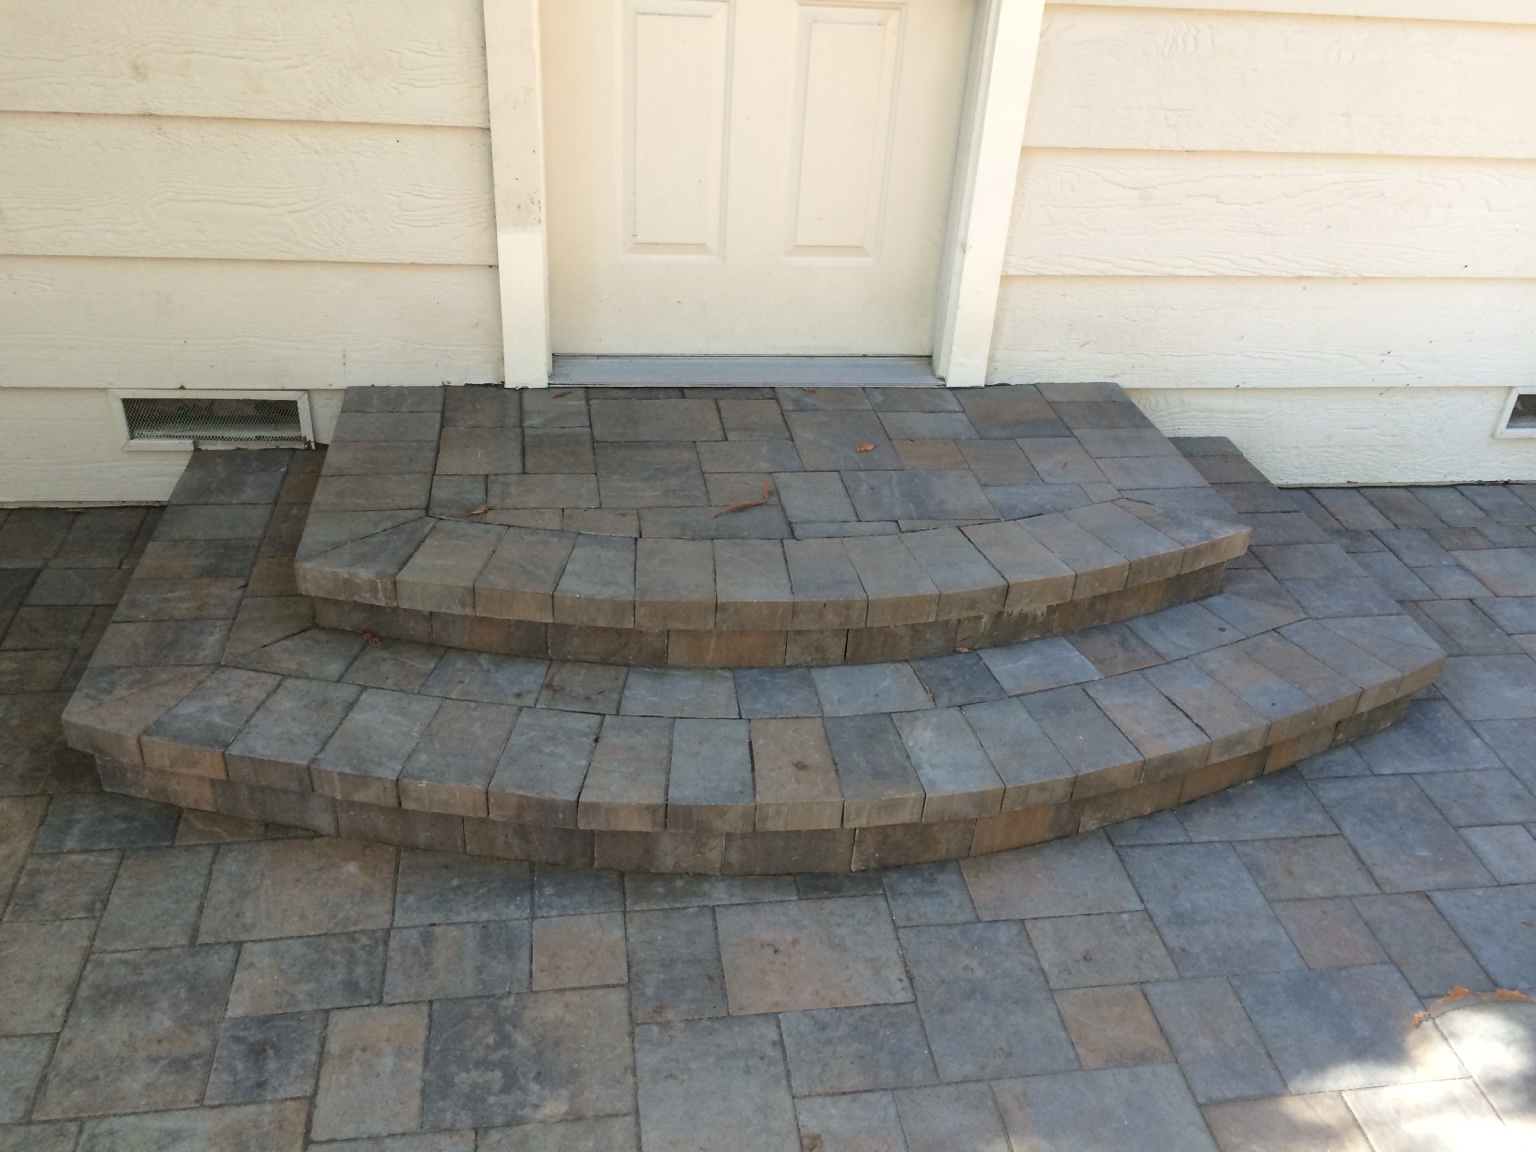
A separate group of completed paver steps, landings and transitions from DCS projects.